SSH has multiple security layers. One of them uses a pair of public and private keys to establish a secure channel between the client and the server. These keys are part of the client's process to authenticate the server. Thus, an SSH Server will need to have a key-pair. This authentication is part of the SSH Handshake that happens when a SSH client requests a connection with a server.
You must first generate the public-private key, which is a one-time process. The keys have to be stored securely in a specific folder to enable the code to access and read the keys from that location.
These instructions describe how to set up the SSH server on Windows for the XPS debug port (13002). The XPS host is the SSH server.
Prerequisites
Install the Microsoft Visual C++ Redistribution 2015 (64-bit) package (vc_redist.x64.exe). You can download it from the Microsoft website: https://www.microsoft.com/en-gb/download/details.aspx?id=48145 (https://www.microsoft.com/en-gb/download/details.aspx?id=48145)
To generate the public-private key pair:
On the XPS host, open the Windows command prompt (Start > Run > 'cmd').
From the command prompt, run the command to create the SSH folder:
mkdir C:\ProgramData\Navis\SSH
From the SSH folder in the command prompt, generate the key pair:
ssh-keygen -t rsa -f C:\ProgramData\Navis\SSH\navis_ssh_key -q -N ""
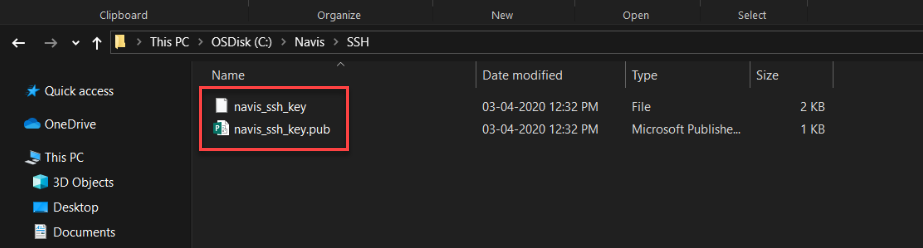
As shown in the following image, the first file is the private key and the second file is the public key as indicated by the extension ‘pub’ in the file name.
The private key is the identity for your system. When running the SSH server locally, the private key is used to authenticate itself to the SSH Client. Ensure that your private key is not shared with anyone.
As long as the keys remain in the required directory, you don't need to do this step again. But if for some reason you need a new pair of keys, repeat the above steps to generate the public-private key pair.